Overriding component properties
Once you have created a Component, you might want to change it a little each time you use it. Imagine for instance a Component you created as a template, containing a web page's title and navigation.
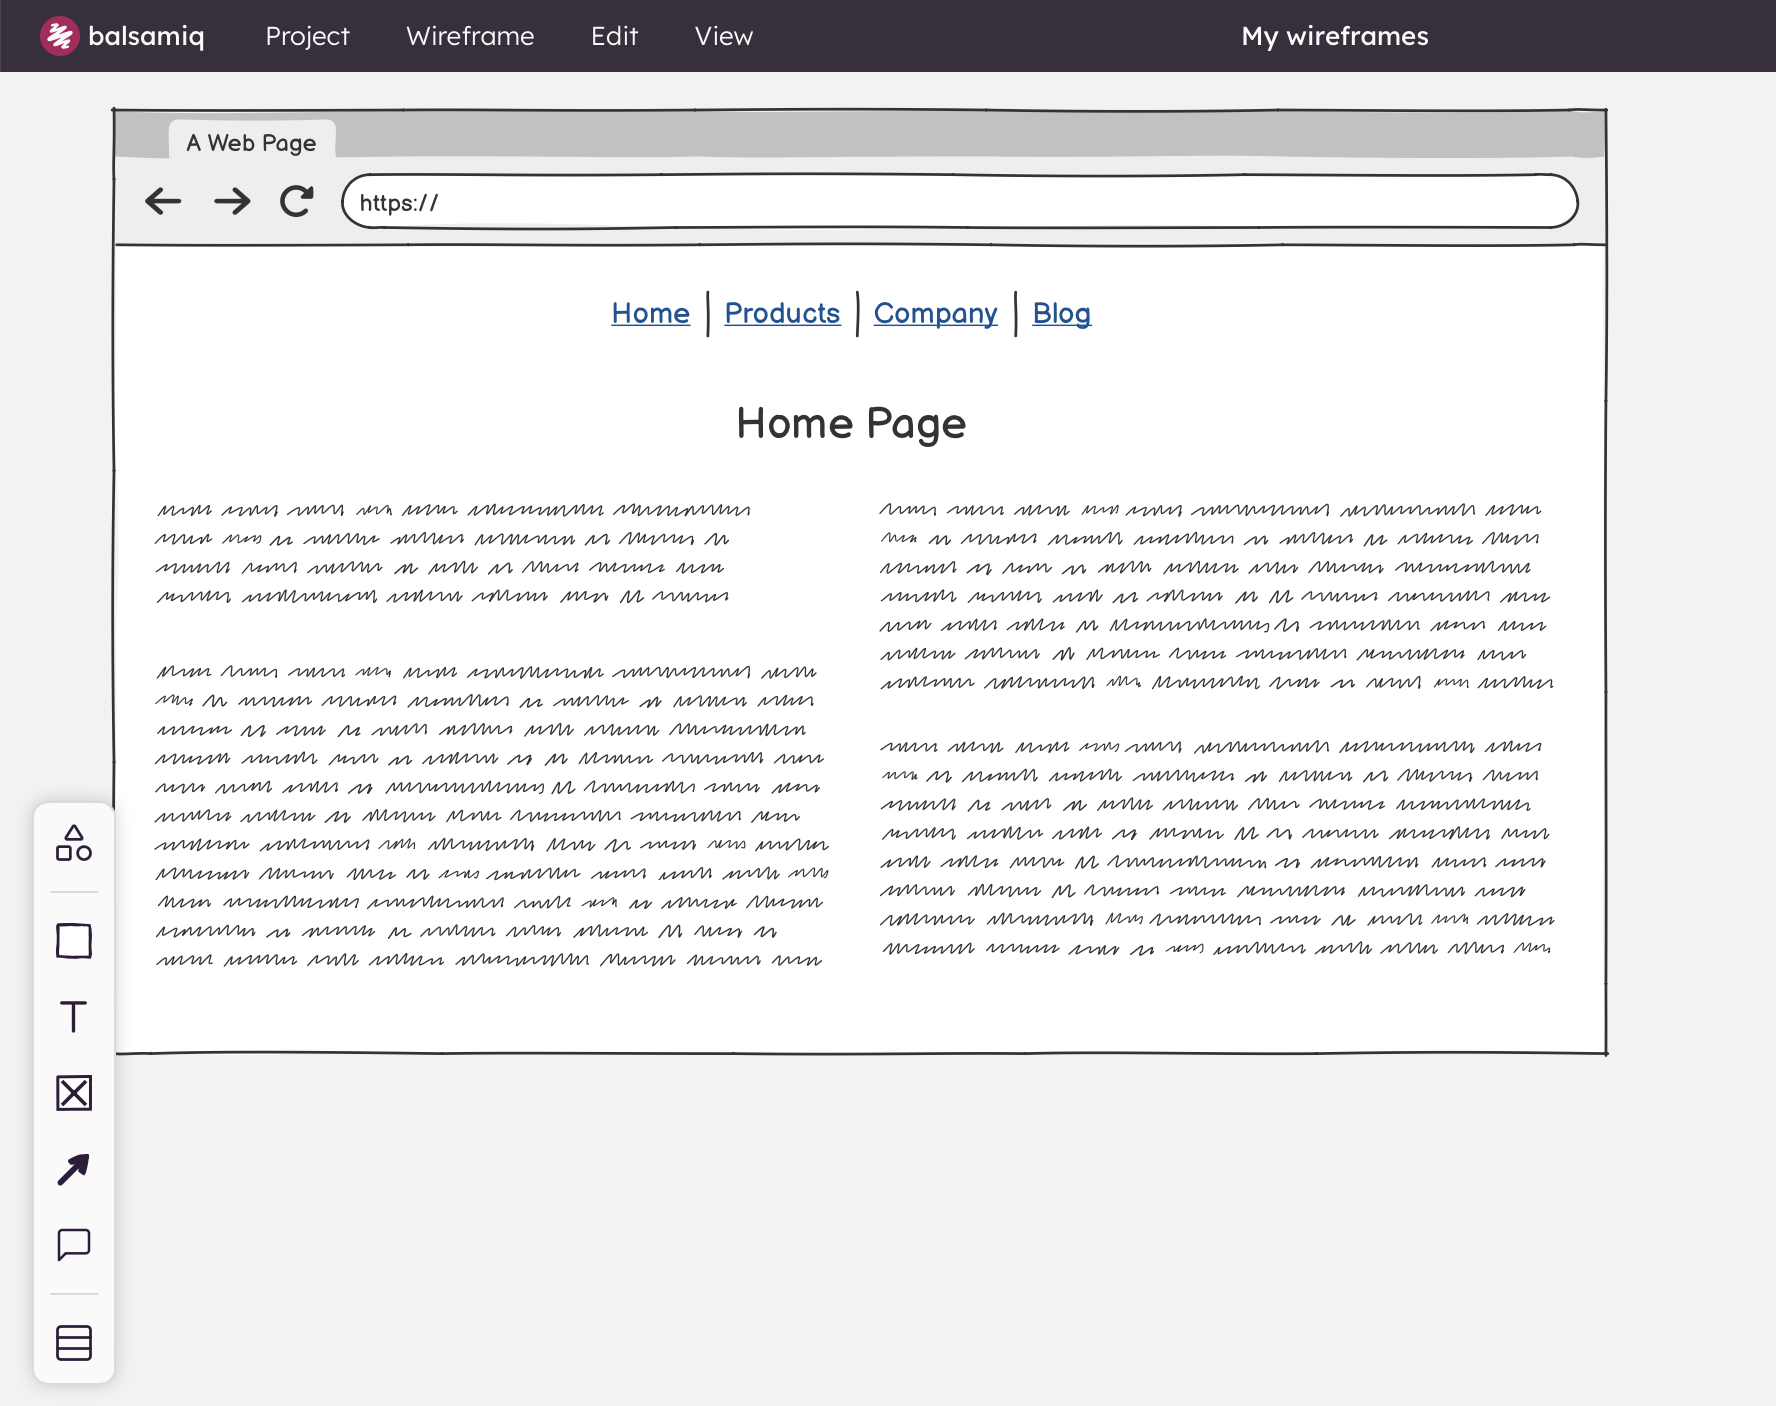
All your website pages will have the same font size and position for the title, but the title's text should be different on each page. The same goes for which page should be shown as selected in your navigation bar.
Components allow you to achieve this result by letting you override certain Component properties each time you use a Component. To do so, start by double-clicking on a Component to "enter it". Although this experience is very similar to editing a group's contents, you will notice that the editor informs you that what you're doing is really overriding some properties of a Component.
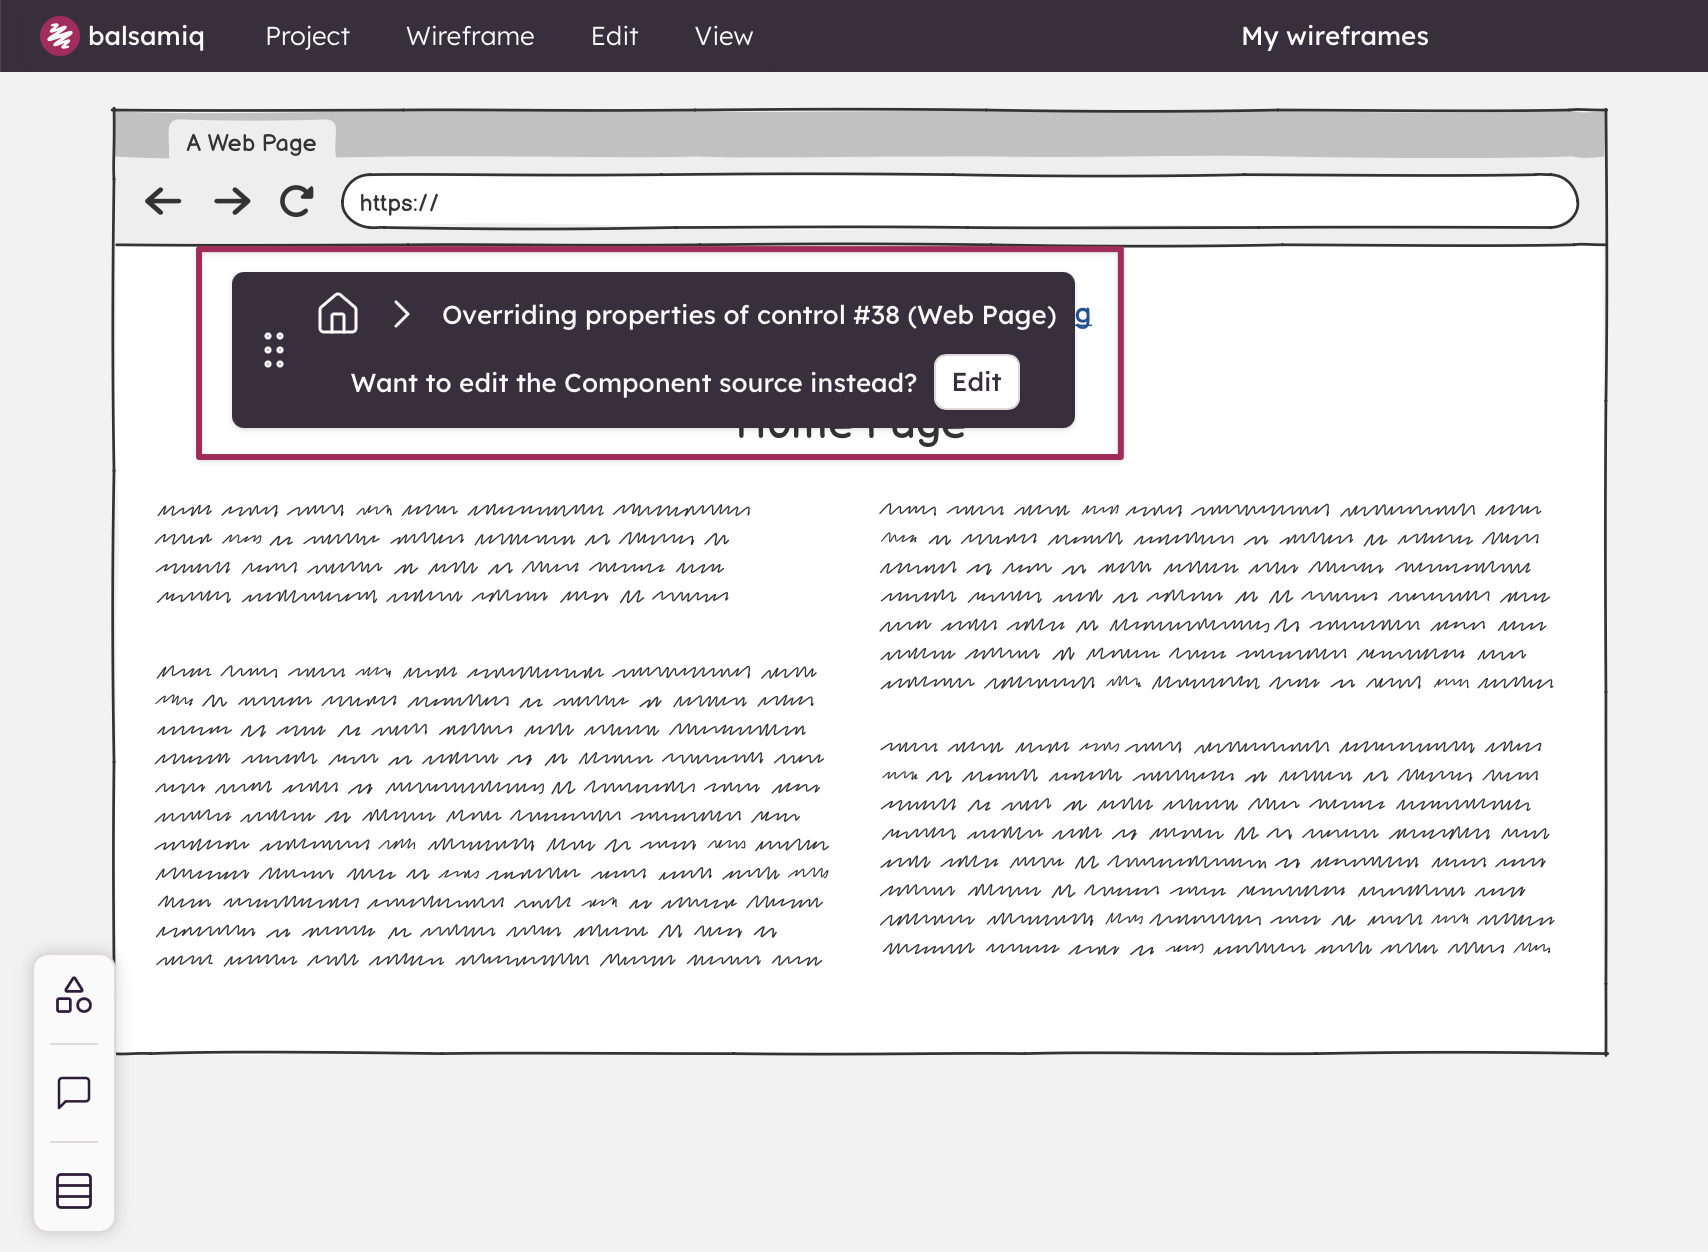
At this point, you can manipulate each UI element inside the Components at will, as if you were editing a group. Some operations are not permitted while overriding Component properties, such as adding, deleting or grouping UI elements. If, instead, you want to edit all instances of the Component, click the "Edit" button.
If you make a mistake, you can always undo to get back. If you want to remove a single property change and go back to a Component's default property, you can use the "Remove [property] override" option from the component menu in the selection toolbar.
You can also revert all changes you made to a Component's instance at once using the component menu in the selection toolbar when the whole Component is selected.