How to take screenshots in macOS and Windows
Screenshots are one of best ways to help our support staff troubleshoot any questions or issues you may be having with our apps. Here is how you take screenshots in macOS and Windows.
On this page
Taking screenshots in macOS
Note: This section will walk you through capturing a portion of your screen but, if it is easier for you, you can use Shift + ⌘ + 3 to capture the entire screen.
macOS has a very versatile screenshot function baked right into the OS (it's even more powerful if you're running macOS Mojave or later). To access it, press Shift + ⌘ + 4. That will turn your mouse cursor into a crosshair. Now you can take that crosshair and click+drag a square on your screen. When you release the drag, whatever is in the rectangle will be captured as a screenshot on your desktop.
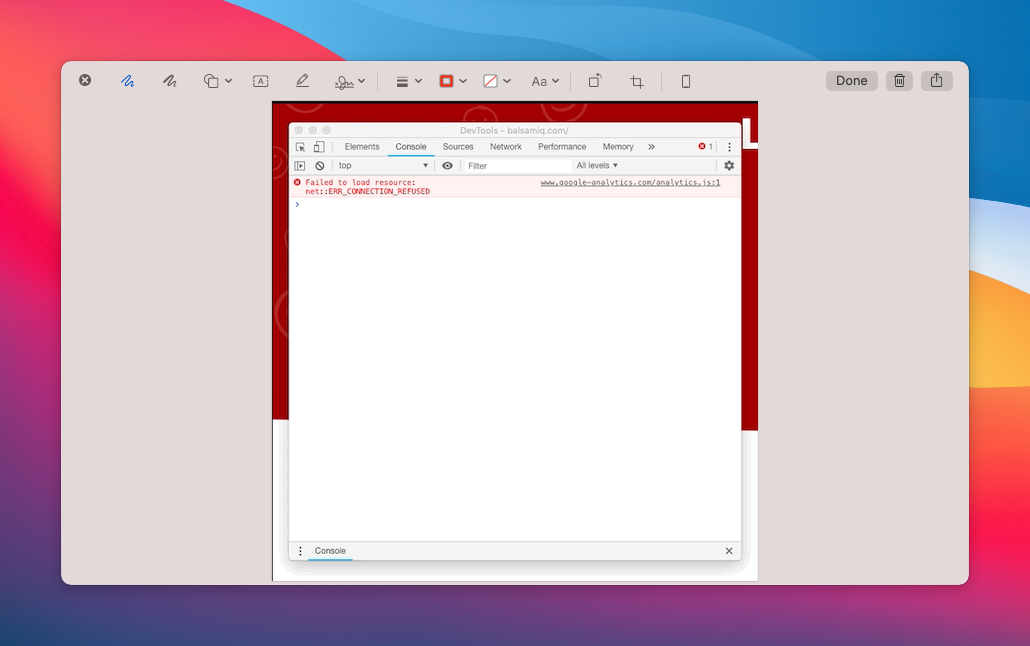
If you're running macOS Mojave (10.14) or later, your screenshot will end up in the bottom-right-hand corner of your screen.
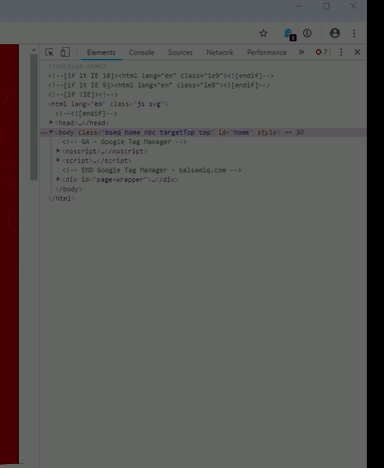
You can either leave it alone, which will save it to your desktop. Or you can click on it and open it in the preview editor. This allows you to add arrows and other markup to the image.
Once you're done marking up the image, you can click Done and it will be saved to your desktop.
Taking screenshots in Windows
This section will walk you through capturing a portion of your screen.
Like macOS, Windows 10 capturing screenshots with a keyboard shortcut (Windows + Shift + S). Once invoked, use the mouse to define the area you wish to capture, and it will be saved to your clipboard. You can then paste ( CTRL + V ) the image directly into your support email.
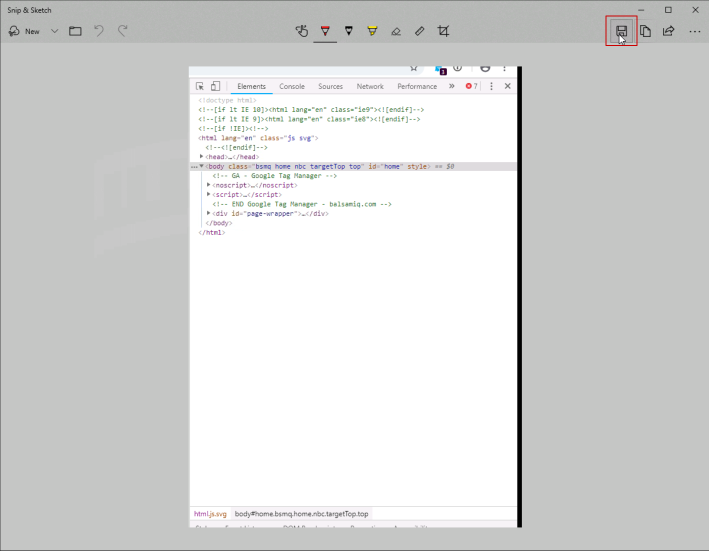
If you'd like a little more editorial control over your screenshots, Windows 10 has a sketching app called Snip and Sketch which is what you can use to make screenshots.
Note: If Snip & Sketch is not installed on your Windows 10 machine you can download it from the Microsoft Store for free.
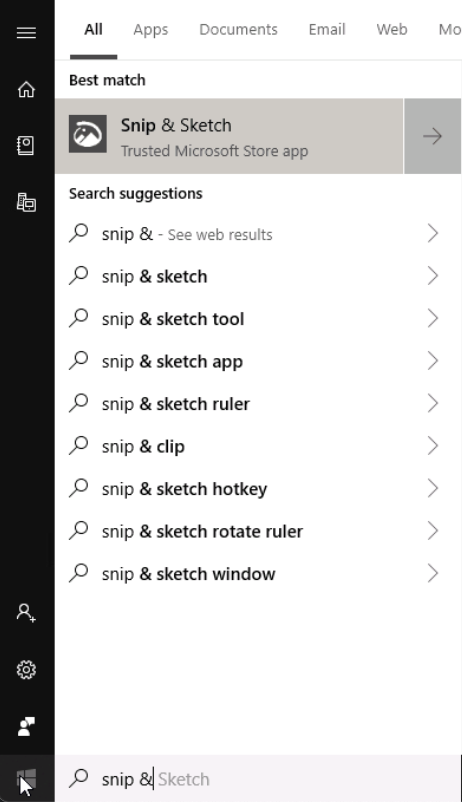
To open Snip and Sketch press the Windows key and start typing "Snip". It will appear after a couple of letters. Select it from the search list to open it.
Once open, click on the New button in the upper left corner.
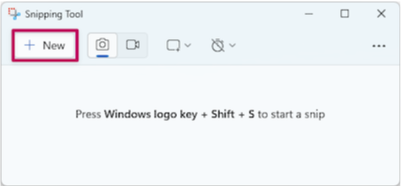
This will darken your entire screen and turn your mouse cursor into a crosshair. Using that crosshair, drag a rectangle around the area you want to take a screenshot of.
When you release your drag, the screenshot will appear in the Snip and Sketch window. Press the 💾 button to save the file.
That's it, easy peasy. We are looking forward to your screenshots. :)