Managing Spaces
On this page
A Space on Balsamiq Cloud is where your projects live.
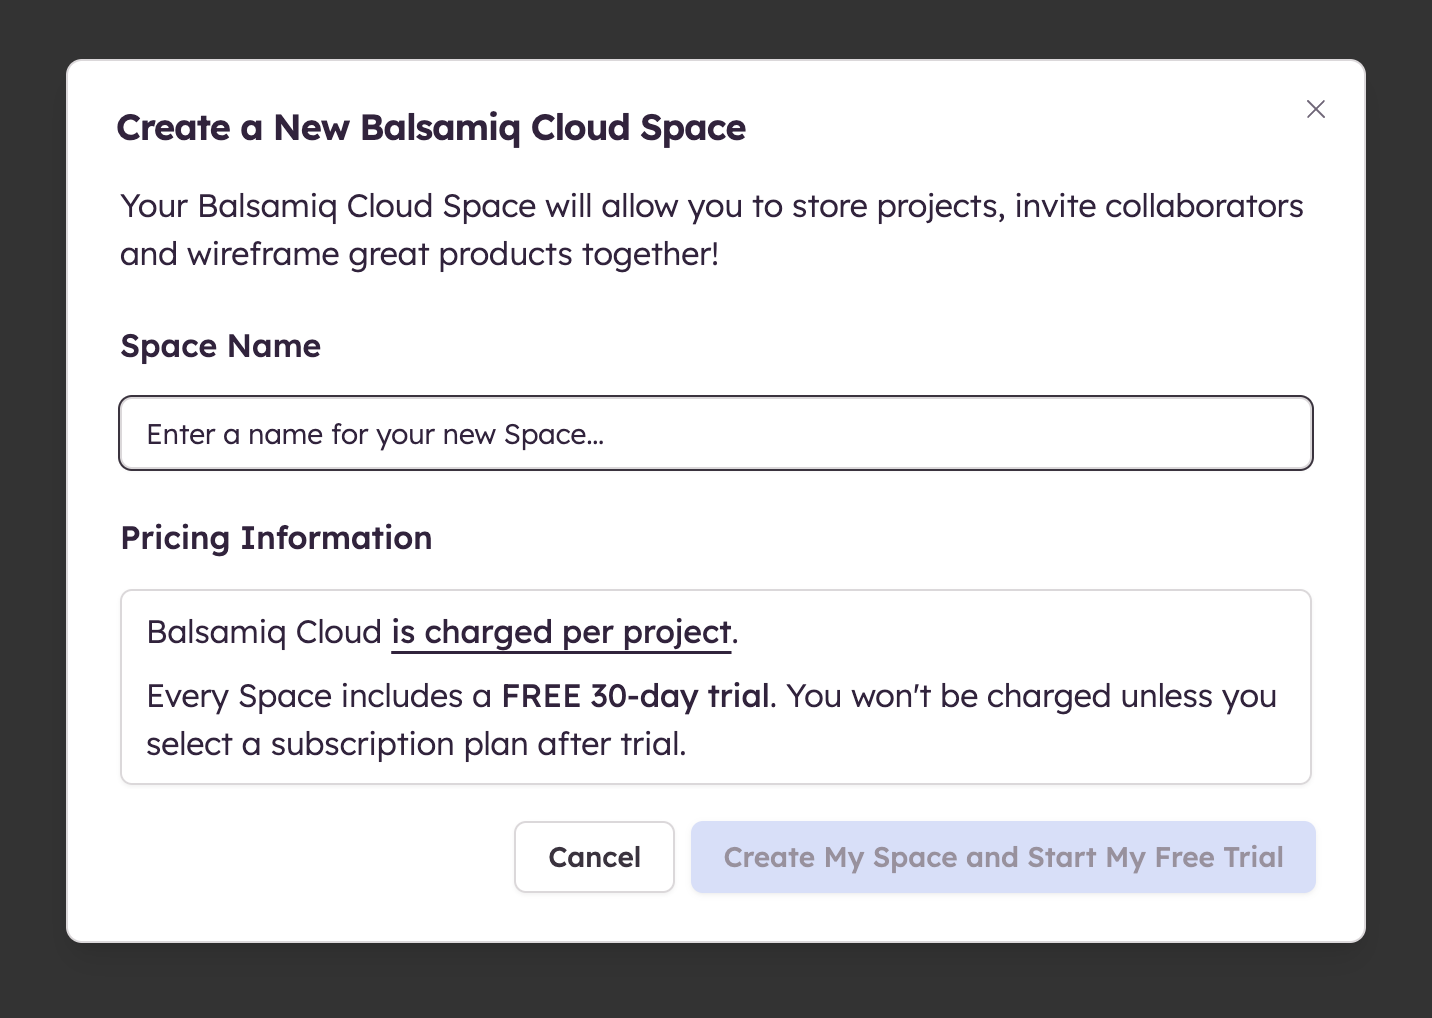
Creating a new Space
If you log into Balsamiq Cloud with an account that doesn't belong to a Space, you will be prompted to create a new Space.
Note: If you already have access to one or more Spaces, you will be taken to the last one you have worked on when you log in.
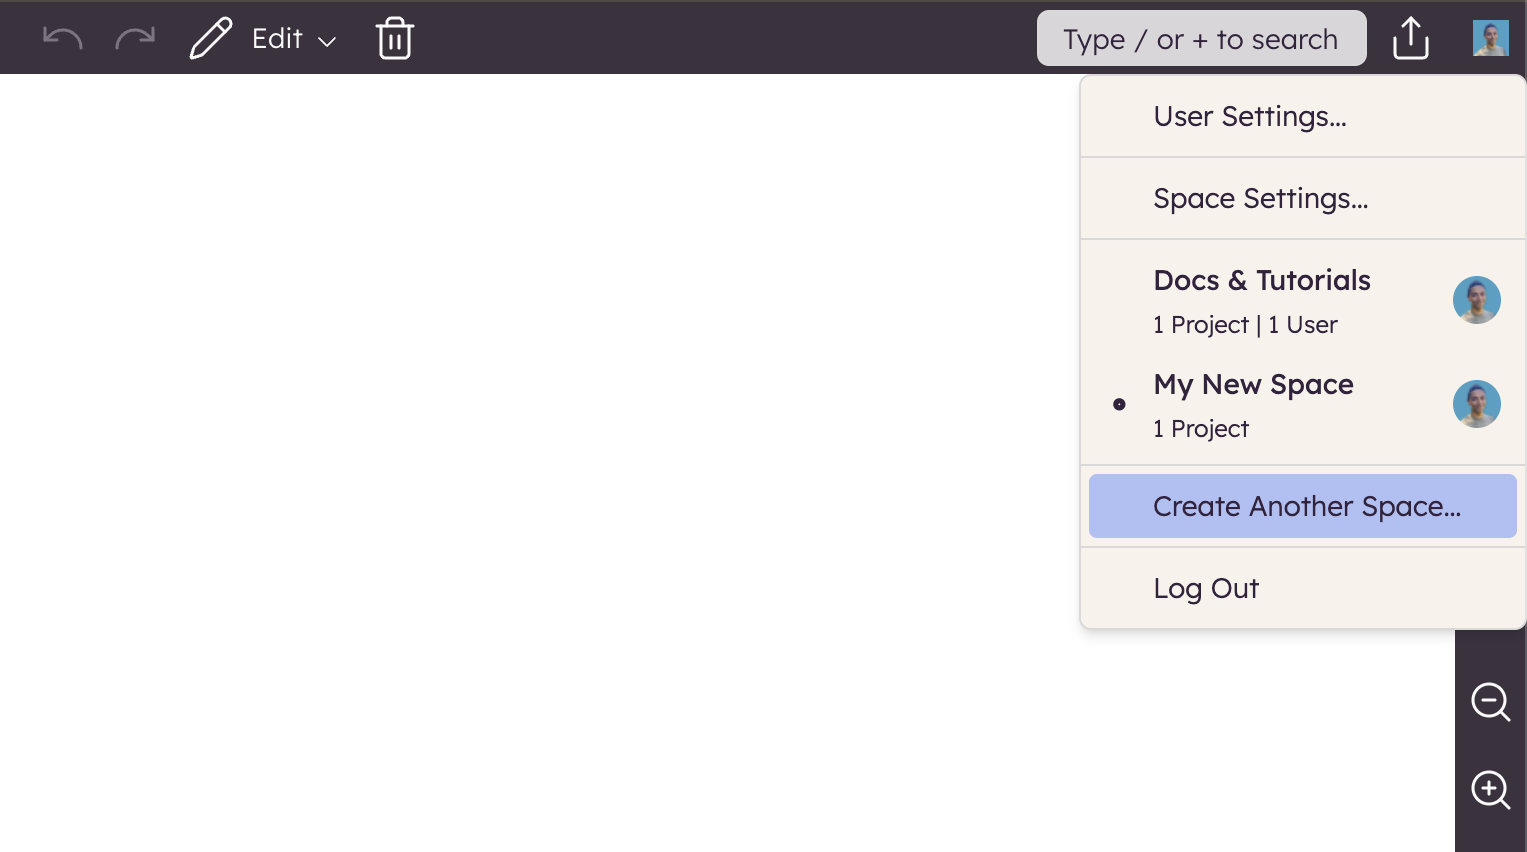
To create another Balsamiq Cloud Space or access a different one, click the Avatar Menu in the upper-right corner.
Managing your Space settings
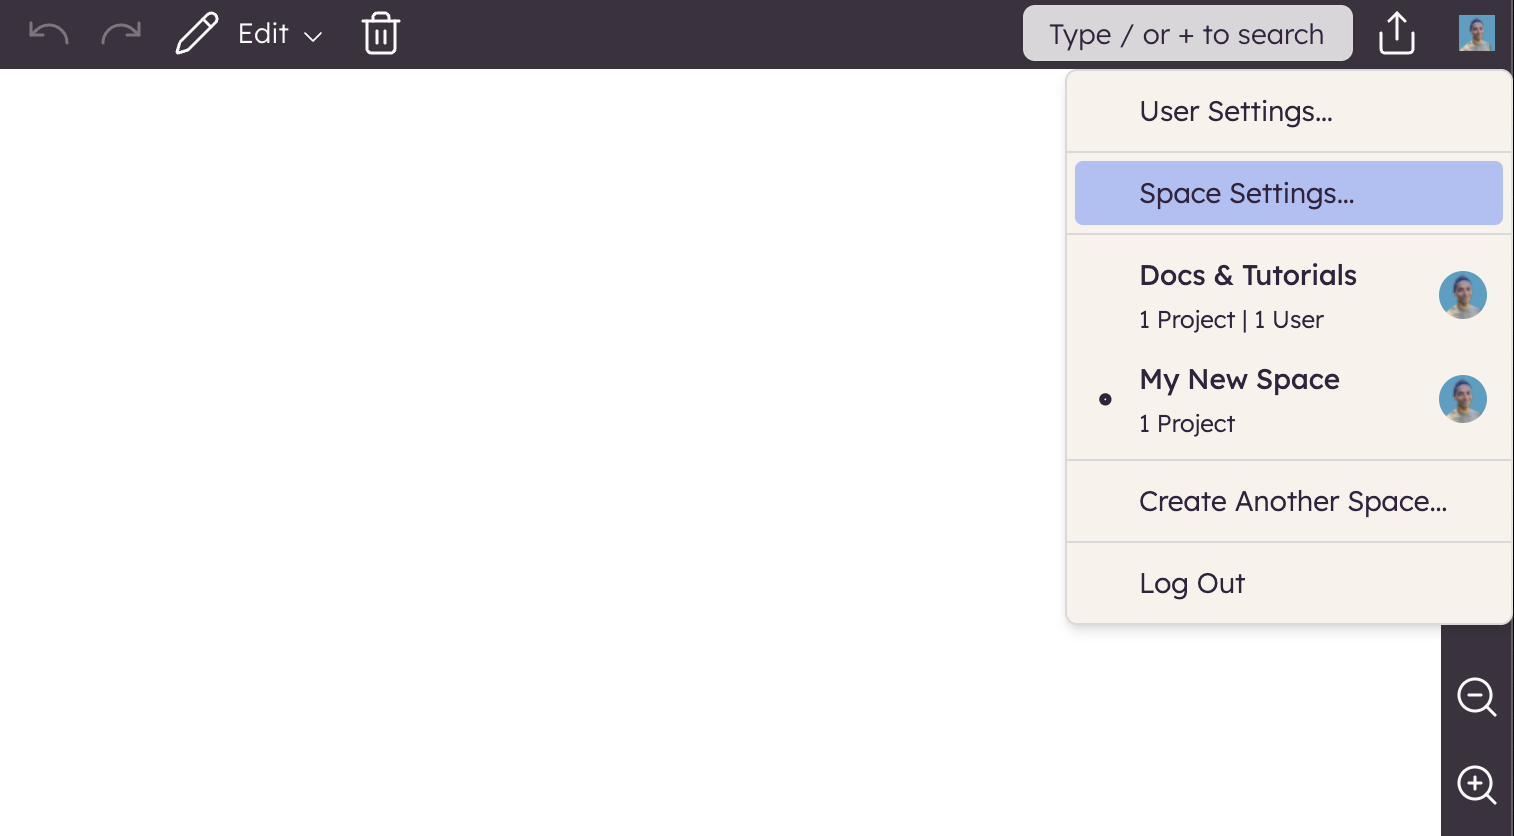
You can access your Space settings from the Avatar Menu in the upper-right corner.
The settings allow you to modify the Space name, manage your Space members and change Space permissions, manage your Slack settings and Dropbox Backups, or delete the Space completely.
Note: These settings are only available to the Space Owner(s).
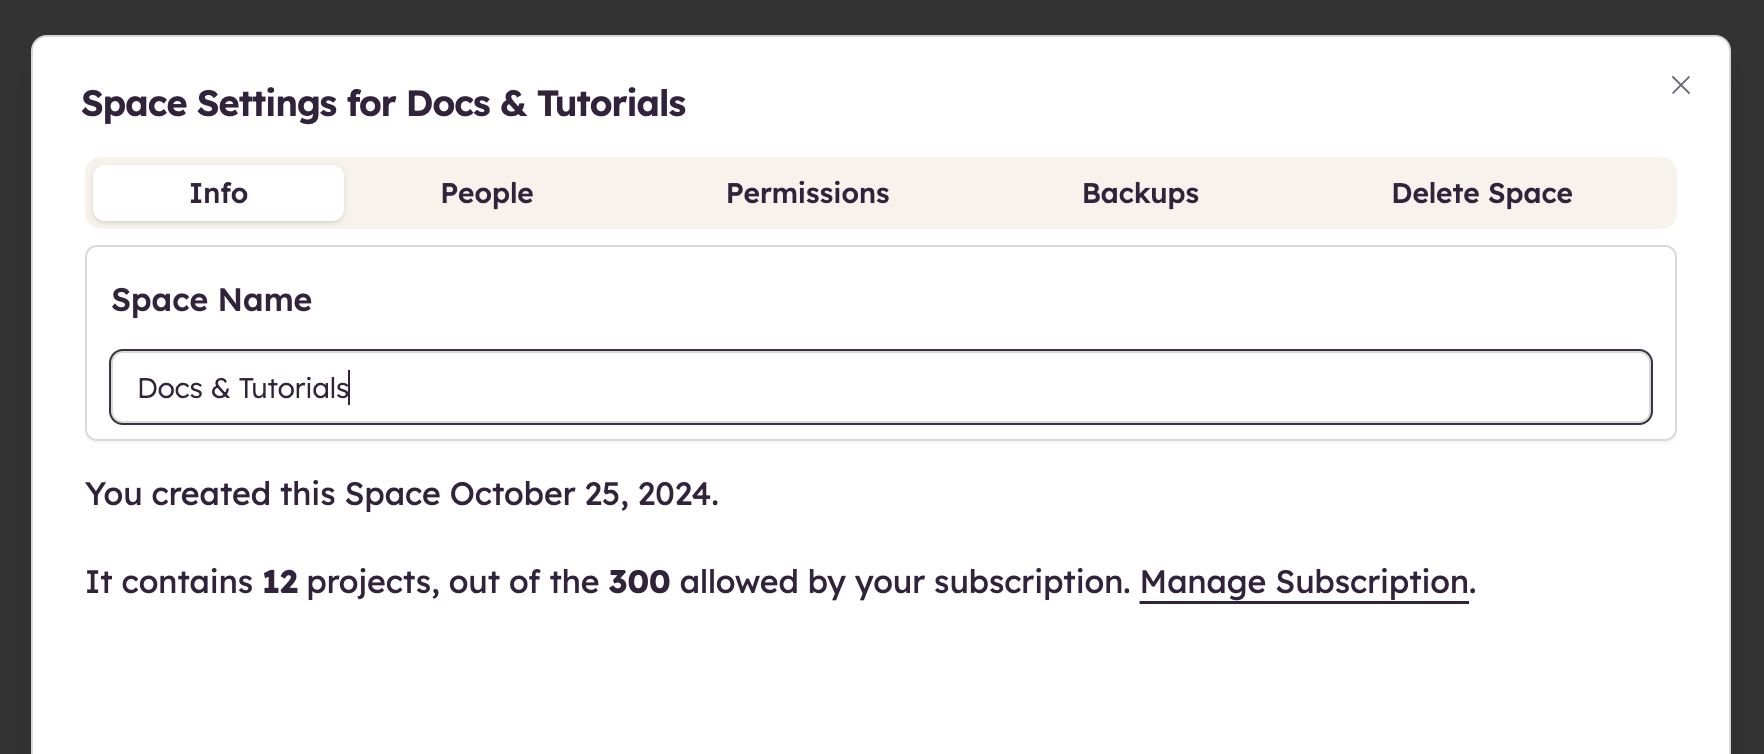
Info
The Info tab allows you to change the name of your Space and provide information about your subscription, which you can manage from the dedicated option.
Note: You can also manage your subscription from the Avatar Menu in the upper-right corner.
People
The People tab provides a list of all the Space users and the projects they belong to. Click on the number of projects they belong to to display a list.
Space owners can invite users by entering one or more email addresses in the dedicated box at the bottom of the page, and add more seats from the dedicated option.
They can also manage pending invitations and requests from this tab.
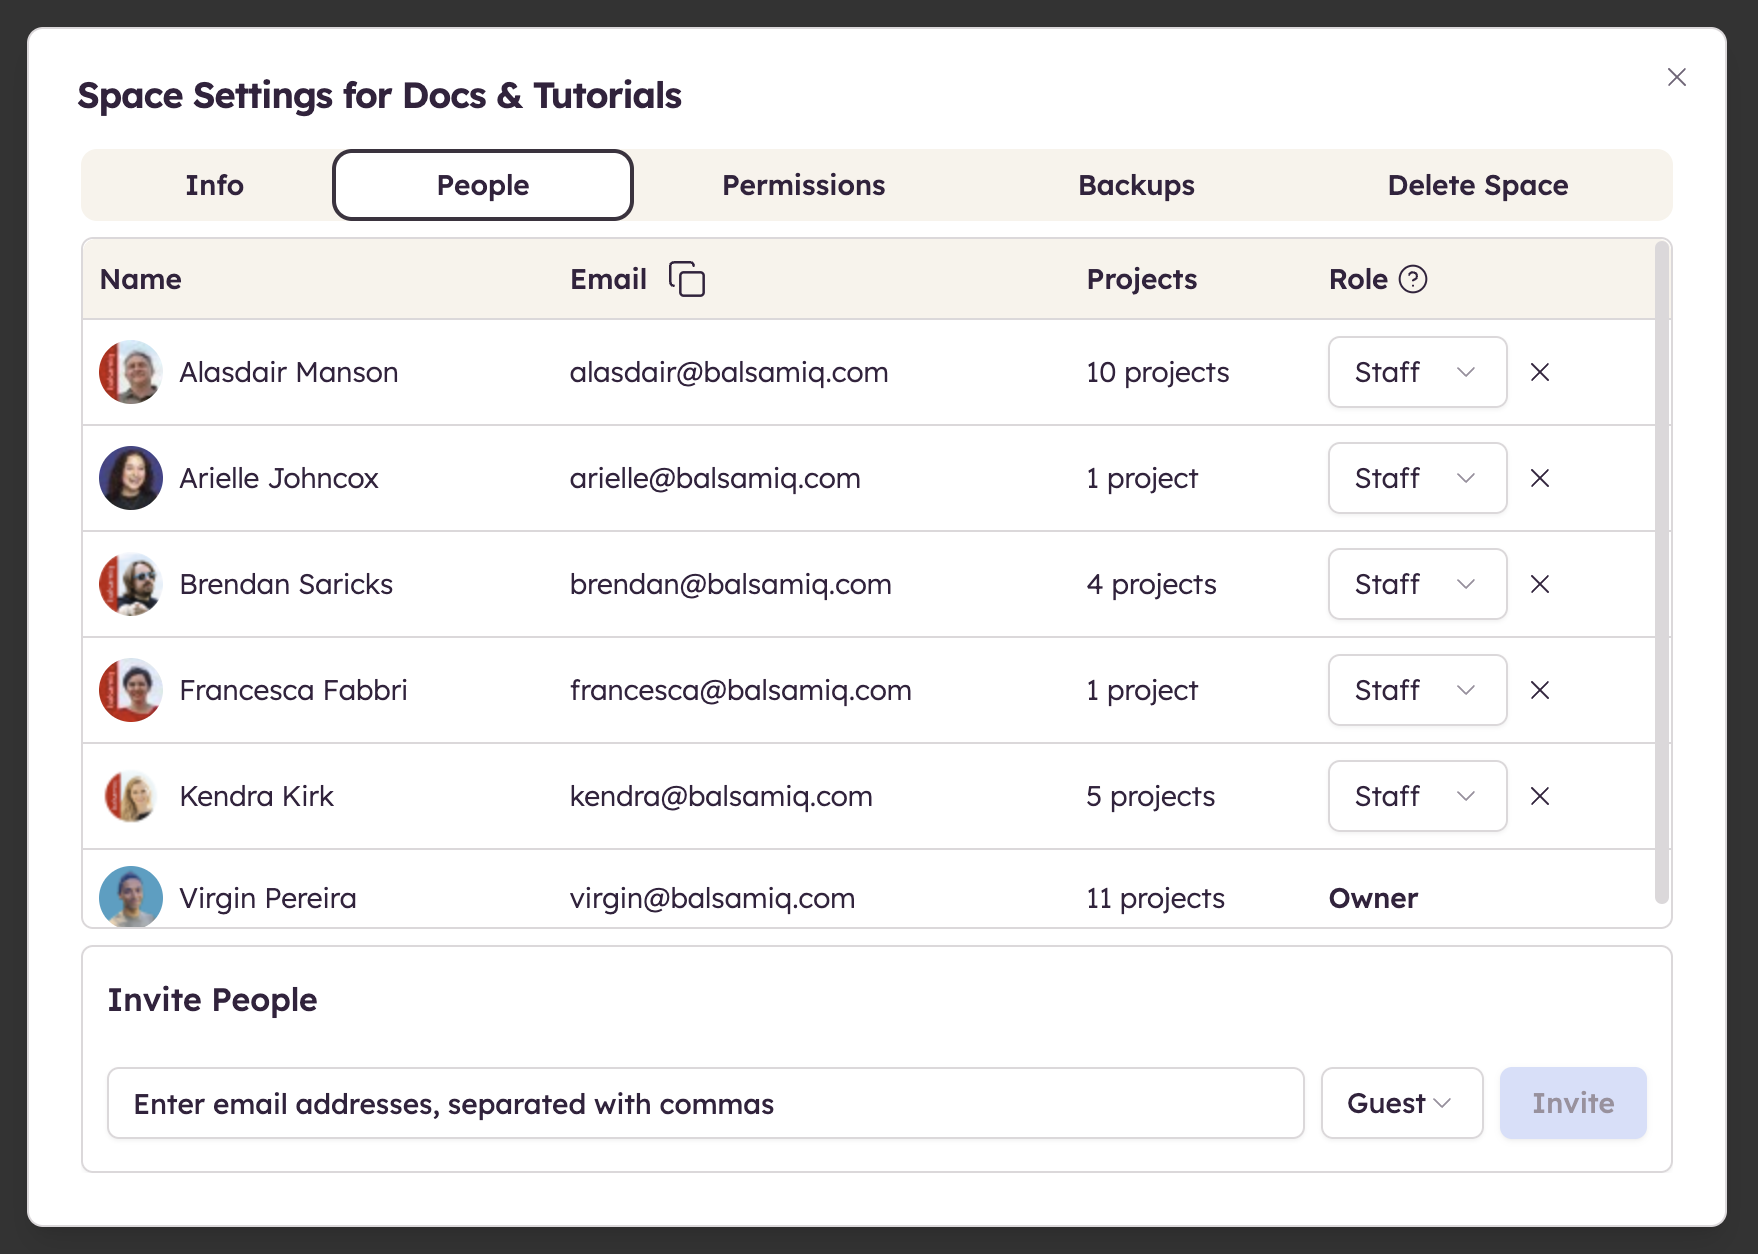
Each user role can be modified individually. Read more about each role in People and Permissions.
To remove a user from the Space, click the "X" to the far right of their name. They will no longer be able to access any projects, except those that allow public (anonymous) reviews.
If the deleted user owns any projects, ownership will be transferred to the Space Owner.
Note: The Billing Admin role cannot be managed from this tab and is described on this page.
Permissions
This tab allows you to set the default Staff editors permissions for any new project created in your Space.

Options include:
- Cannot Access New Projects - Staff editors cannot access new projects (unless explicitly invited to the project)
- Can View and Comment on New Projects - Staff editors cannot edit new projects but they can view and add Comments
- Can Edit New Projects - Staff editors can edit any new project created on your Space
Note: Changing this setting does not affect existing projects. Project Owners can override this default permission for a particular project by changing the "Other staff editors" option in the project's Sharing Settings.
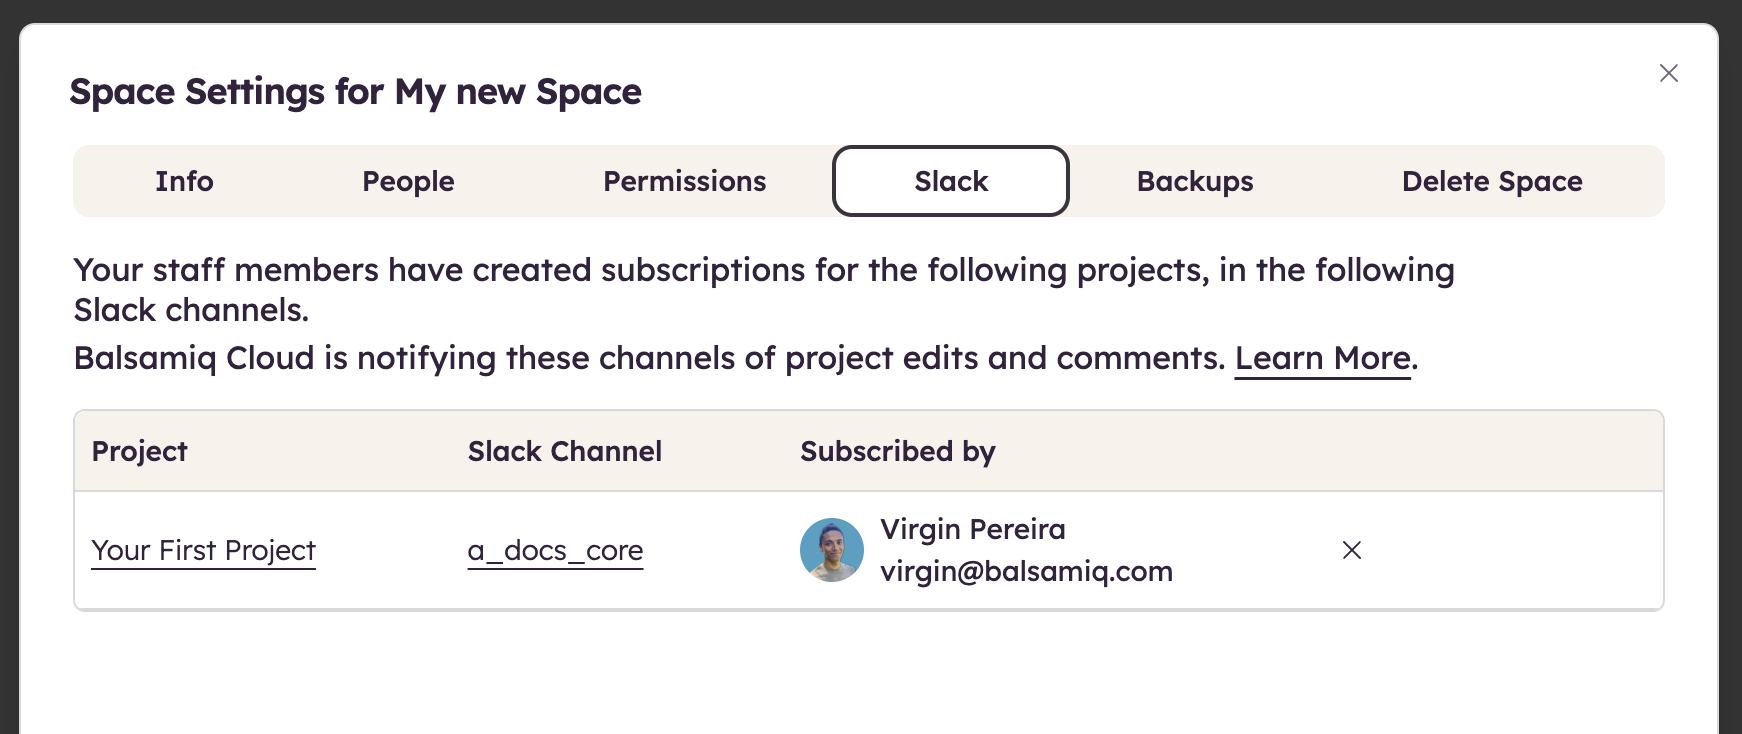
Slack
This tab allows you to view and manage your Slack subscriptions. You can disconnect a project from a Slack channel by clicking on the X next to it.
Backups
This option allows you to back up all your projects from this Space to your Dropbox account.
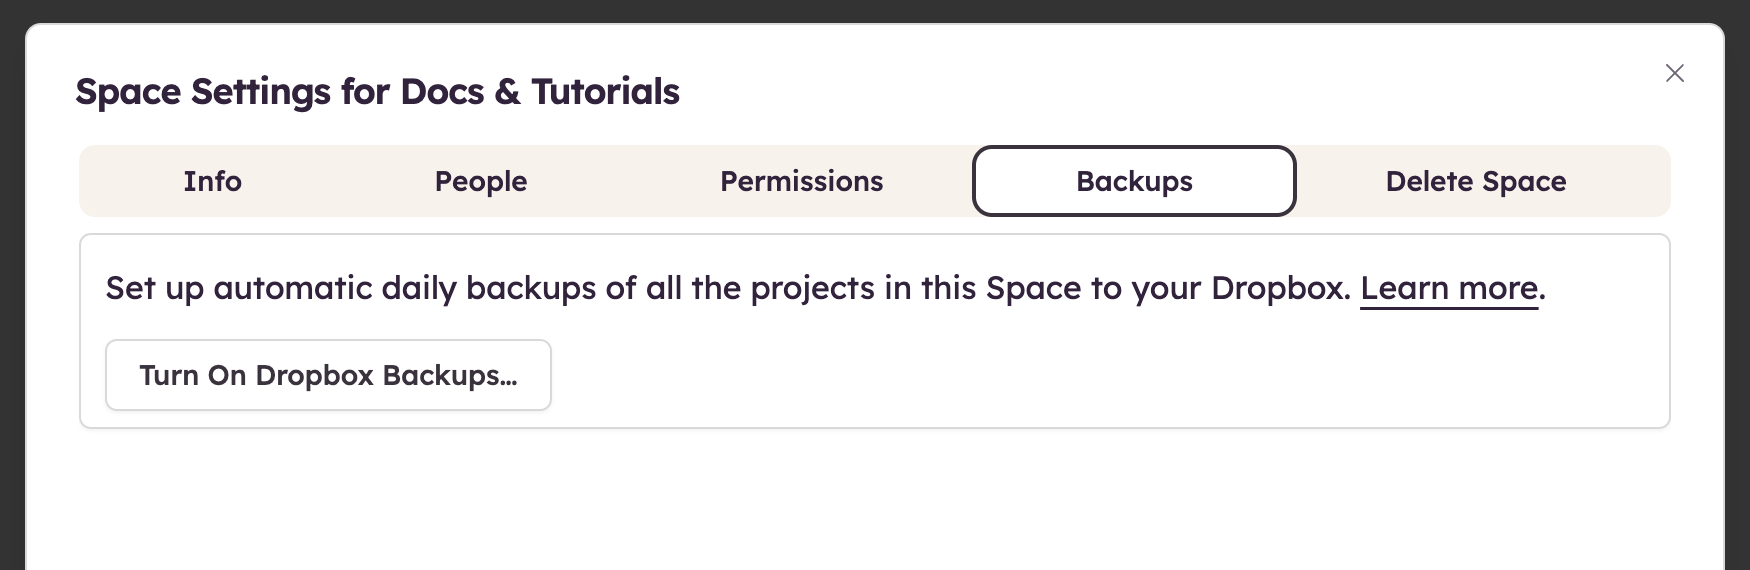
When you click on Turn On Dropbox Backups, you will be prompted to:
- Log in to your Dropbox account (if not logged in already)
- Allow Balsamiq Cloud to access your Dropbox account
Once the feature is turned on, the first Dropbox backup will be scheduled for that day and a daily backup will be made for as long as the feature is turned on (empty projects and projects which have not changed are not included in the backup).
Each project will generate a .zip file that follows this naming convention: SpaceID_SpaceName_ProjectID_ProjectName.zip
The .zip file contains the .bmpr file (project) that is compatible with any Balsamiq product. These backup files are stored in your Dropbox folder under Apps > Balsamiq Cloud > backups.
Backup files are not synced (editing a local copy won't update the file saved in this Dropbox folder).
Note: Transferring the Space Ownership will turn off the Dropbox Backups feature. Turning off the feature won't delete existing backups from your Dropbox account.
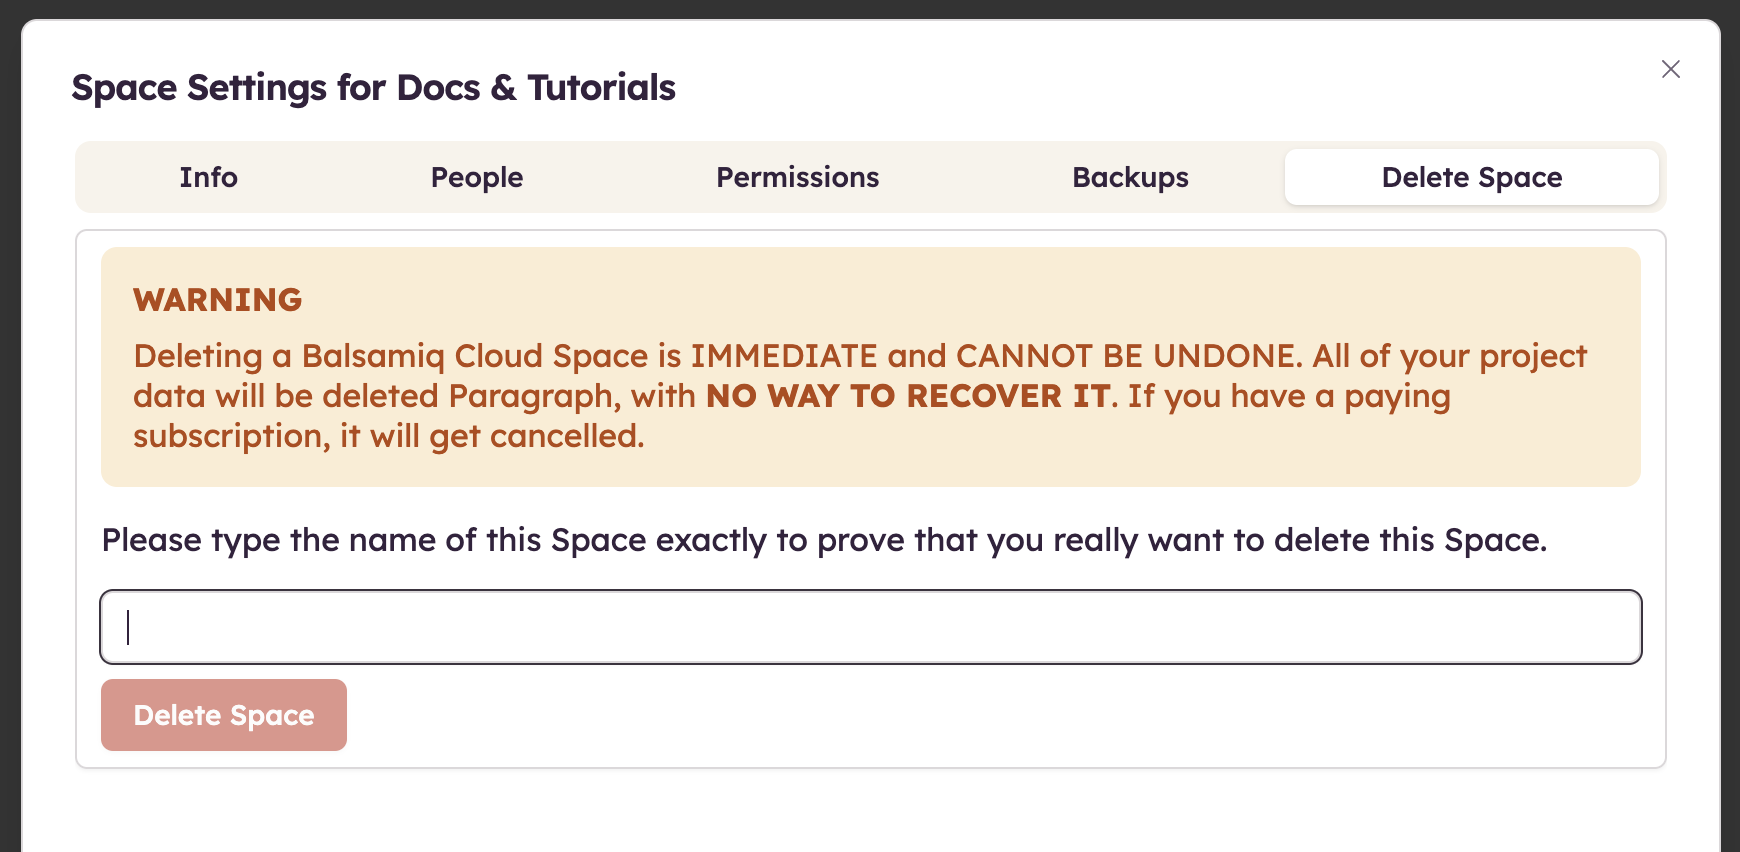
Delete Space
The option to delete a Space is only available for the Space Owner(s). To do this, type the name of the Space and click the Delete Space button. If you have an active subscription for the Space, deleting the Space will cancel it.
Note: Deleting a Space cannot be undone. All of your project data will be deleted immediately, with no way to recover it.